 Shop Now Summer FavoritesWelcome the sunniest season with stylist-approved haircare


How to Diffuse Curly Hair for Gorgeous, Defined Curls
If you have curly hair, then you know the truth. Curls can be a divine gift and a daily battle all rolled into one untamed tangle of hair. As someone who’s rocked waves their entire life, I can attest to the struggle to achieve defined curls—it’s real! From the dreaded frizz to the elusive quest for perfectly-defined, frizz-free curls, it's a journey that can take lots of trial and error before finding a hair care routine that does your curls justice.
Luckily, hope is on the horizon, and it has a name—the diffuser. This unassuming attachment to your trusty hair dryer holds the game-changing power to transform your wavy mane into beautifully defined curls. We’re here to show you how.
Understanding Hair Density
No two heads of curls are the same. To truly master the art of diffusing, you must first understand the intricacies of hair density and texture. Each type of curl has its own unique set of quirks and characteristics to understand—but more than that, to overcome.
Types of Curly Hair
Understanding your specific curl type is the first step in tailoring your hair care routine to achieve those coveted, frizz-free curls. Here’s a quick breakdown of the different categories:
Type 2: Wavy hair (2A, 2B, 2C)
Let’s skip the straight talk (Type 1 is straight hair) and jump right into the world of waves. Wavy hair falls into the Type 2 hair category, ranging from effortless beach waves to more defined, S-shaped curls. Type 2A waves are subtle and gentle, while 2B waves have a bit more body and bounce. At the other end of the spectrum, the more voluminous 2C waves are more defined and can border on curly territory, with distinct waves that cascade down the length of the hair.
Type 3: Curly hair (3A, 3B, 3C)
Type 3 curls are where the magic begins, with curls ranging from loose spirals to tight, cute coils. 3A curls are defined by their large, voluminous loops, while 3B curls have a springy, corkscrew-like shape. For those with 3C curls, the coils are tighter and more compact, with defined ringlets that pack a seriously curly punch.
Type 4: Coily hair (4A, 4B, 4C)
Coily hair, also known as kinky or afro-textured hair, rounds out Type 4. For these coils, think tight, densely packed strands that are full of… personality. More specifically, 4A coils have a defined curl pattern with a bit of spring, while 4Bs are a zig-zag shape that creates texture and volume. 4C coils are the tightest of the category, with a more compact curl pattern that defies gravity—and demands attention.
Characteristics and Styling Needs
Now, let’s get to the root of what those curl types mean as it relates to your styling needs. Wavy hair, which can vary in porosity and elasticity depending on the specifics of the wave, requires lightweight products that enhance the natural texture, as opposed to weighing it down. Focus on that enhancement and adding volume.
Alternatively, curly hair can often be porous, while elasticity varies, so the key here when styling is hydrating products to combat frizz and define curls. These hair hacks can also help by embracing curl-specific techniques like scrunching and plopping to maximize your curls’ definition.
Lastly, coily hair isn’t overly porous, but is high in elasticity. What does that mean? It means you need moisture-rich products to hydrate and nourish those tight coils. All these insights can help tailor your routine. It’s never easy getting past the trial and error portion of the styling game, but it’s worth it in the end.
Choosing the Right Products Before you Diffuse
Before you dive into diffusing, it's crucial to find your curl’s perfect product match—the products that will do those curls justice. The maze of hair care aisles can feel overwhelming, but we’re here to help guide you.
The journey starts with the right shampoo—and gentle shampooing technique. Curly and wavy hair tends to get frizzy by nature, so avoid heavy products that can weigh it down, and two to three times a week is the sweet spot for shampooing. Also, take care to avoid aggressively washing—gentle circular motions only, as anything more can lead to tangles, breakage and the dreaded frizz.
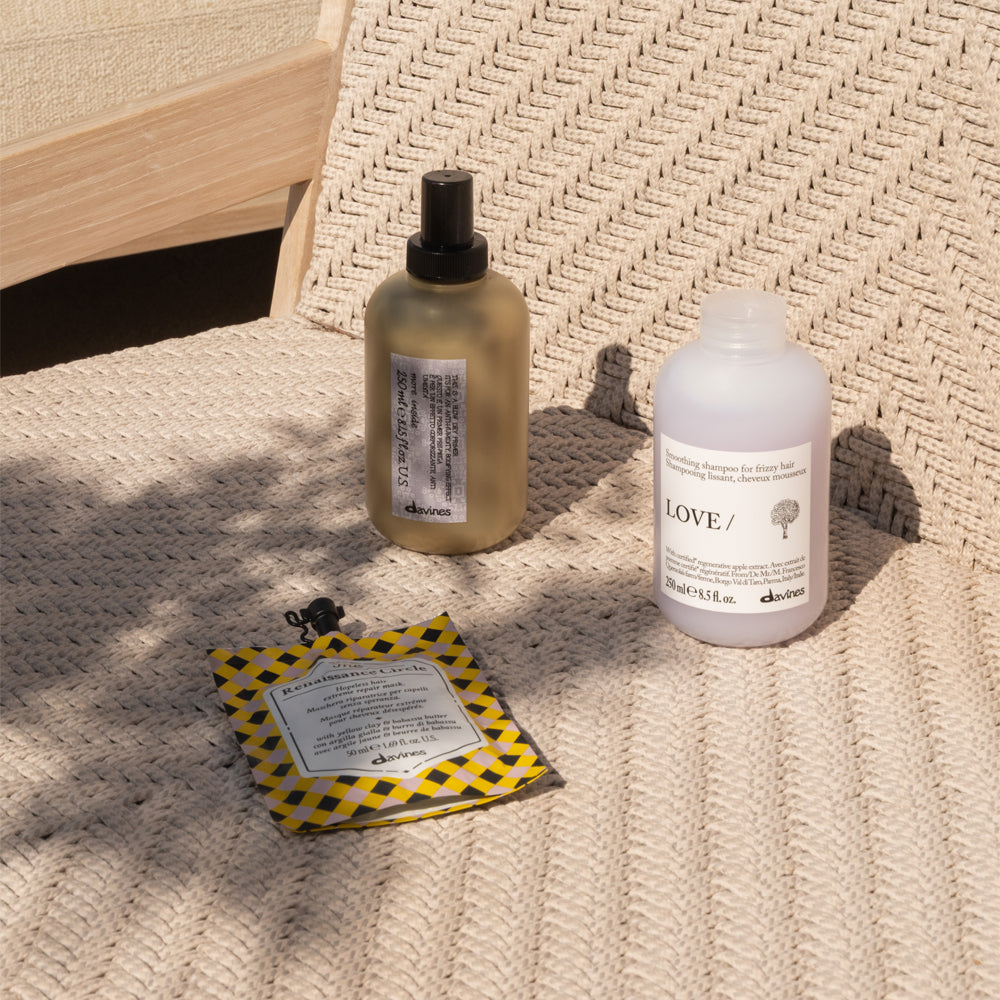
A deeply moisturizing shampoo will enhance your curls’ elasticity and softness, and then follow that up with a worthy conditionerafter each wash. This is crucial as protecting your curls’ hydration is fundamental to achieving their ideal look. Treating your locks to a nourishing hair mask monthly for added hydration is also a must. For a more comprehensive look at the variety of products Davines offers, based on your specific curl type, check out our complete guide.
Adjusting Techniques for Different Curl Types
When it comes to diffusing techniques, one size definitely doesn’t fit all. Small adjustments, from heat settings to airflow to drying time, can help tailor the process to suit your needs.
Wavy-haired girls, for example, should opt for low heat settings (this is a good general rule of thumb, no matter the hair type) to prevent overdrying those delicate waves, while curlier hair could opt for a more moderate heat to help to set the curls without dehydrating them.
The Basics of Hair Diffusing
Now for the good stuff—the how. Level up your curl game with this secret weapon for bringing out those beautiful curls while keeping frizz at bay. First off, who has time for air drying or regular blow drying? Not us. A diffuser is an attachment for your blow dryer designed with special prongs (or fingers) that spread the air gently and evenly. We love this approach because it preserves those natural curls, while taming frizz, and best of all, it speeds up drying time—a lifesaver for anyone on the go.
Preparation for Hair Diffusing
Start fresh with a clean slate—aka, freshly washed hair. Again, we recommend using a hydrating shampoo and conditioner specifically made for curly hair to keep those locks moisturized from the get go.
Towel Drying Technique
Next, grab a microfiber towel or t-shirt to gently pat-dry (or scrunch dry) your hair. No rough motions allowed here. Gently squeezing the hair will help minimize frizz and keep those curls intact as much as possible before you even get to diffusing. Wrap your hair up in the towel to help it retain moisture before exposing it to the air.
Choosing the Right Heat Setting
Attach your diffuser to your dryer, and apply whatever curly concoction (mousse, gel, oil, etc.) you want—as well as a heat protectant—throughout your damp strands using your fingers or a wide-tooth comb. One major mistake to avoid here: Do not, we repeat, do not apply your products to soaking wet hair. That will simply waste the product. Make sure it’s just damp so your hair accepts the products you’re applying. Next, let’s talk heat. Use low or medium heat, especially for curly hair, to prevent heat damage while still effectively drying the hair.
Diffusing Technique
To diffuse your hair like a pro, section it off and start drying at the roots. Gently hover and scrunch your curls as you dry, encouraging them to shine while (again) keeping frizz in check. Focus on one section at a time, rather than constantly moving the diffuser in all directions. Since both your heat and speed settings should be relatively low, it takes a bit longer to dry, but the results are worth the wait.
Monitoring Drying Time
One major tip: Keep an eye on the clock. Over-diffusing your curls can lead to dry, stiff results. Stop when your hair is about 80% dry to keep moisture locked in and avoid heat damage.
Final Touches
At the end, give your curls one final scrunch to soften any stiff spots. Consider adding some hairspray or curl-enhancing serum for extra hold and shine, and you’re ready to rock those curls.
Maintaining Frizz-Free Curls
If you have curly hair, it should come as no surprise that the natural structure of your tresses are prone to frizz—which is usually the complete opposite of what we are all trying to achieve. Humidity, dryness and friction are major culprits, and moisture—as well as a few insider tips—are the only way to combat the frizz.
Tips for Preventing Frizz
Start with the basics—your washing and conditioning routine. Use sulfate-free shampoo and moisturizing conditioner to keep your curls hydrated and minimize frizz.
Drying Techniques
If you only have one takeaway from this article, let it be this: Always handle your curls with care. Instead of rough towel-drying or high heat settings, gentle is always better—anything rough and you could exacerbate frizz. Blot your hair with a microfiber towel to prevent frizz from rearing its ugly head.
Choosing the Right Styling Products
The right products can make all the difference. Look for anti-frizz serums, creams, gels and magical potions tailored to curly hair to enhance definition and combat frizz.
Sleeping Habits
For soft, healthy curls while you sleep, swap your cotton pillowcase for silk to reduce friction and breakage during your sweet dreams—plus, it feels incredibly luxurious!
This is particularly beneficial for those with long hair, as silk's smooth surface is gentler on strands.
Another option? Try wrapping them in a silk scarf or bonnet.

Refreshing Curls
If your curls need a midday pick-me-up, refresh them and fight frizz with a refreshing spray, leave-in conditioner or hair oil to maintain your curl pattern without weighing the hair down. If your roots and curls tend to flatten, give them a lift; if they tend to dry out and break, add moisture with this oil; to keep that tousled, beachy look, give them a spritz. If there’s a need throughout the day, we have a product.
And remember, hands off! Minimize touching your hair throughout the day to prevent frizz and unnecessary interference/warping of your curl pattern.
Long-Term Frizz Control
For long term care, treat your curls to regular deep conditioning treatments, and trim split ends regularly to keep them healthy and frizz-free. When it comes to the overall routine, consistency is key—stick to steps, techniques and products best suited for your curl pattern, and your curls will thank you.
For a little extra help, look to our best sellers—everything you need for frizz-free, fabulous curls.
Final Thoughts
We've covered a lot of ground in our curly journey—from understanding your unique curl type to mastering the art of diffusing. The battle against frizz is real, but armed with the right knowledge and techniques, you (and your curls) can emerge victorious.
Whether it's choosing the right products, adjusting your diffusing technique or embracing silk for smoother sleep, every step counts toward achieving beautiful, frizz-free curls. So give it a try, and when you do, we’d love to hear the results. Leave your experience in the comments below so our whole community can grow and learn together.
In the meantime, go ahead and find your nearest Davines salon to start your journey with the help of the hair pros. Happy styling!
by Morgan Hanson, featured contributor

Water is one of our planet’s most precious resources, but it is increasingly vulnerable. At Davines, we believe that together...
At Davines, sustainability is at the heart of everything we do - and that means product packaging has always been...

You’re trying so hard to brush gently but no matter what you do, you still hear it - the unmistakable...
Leave a comment
Comments will be approved before showing up.