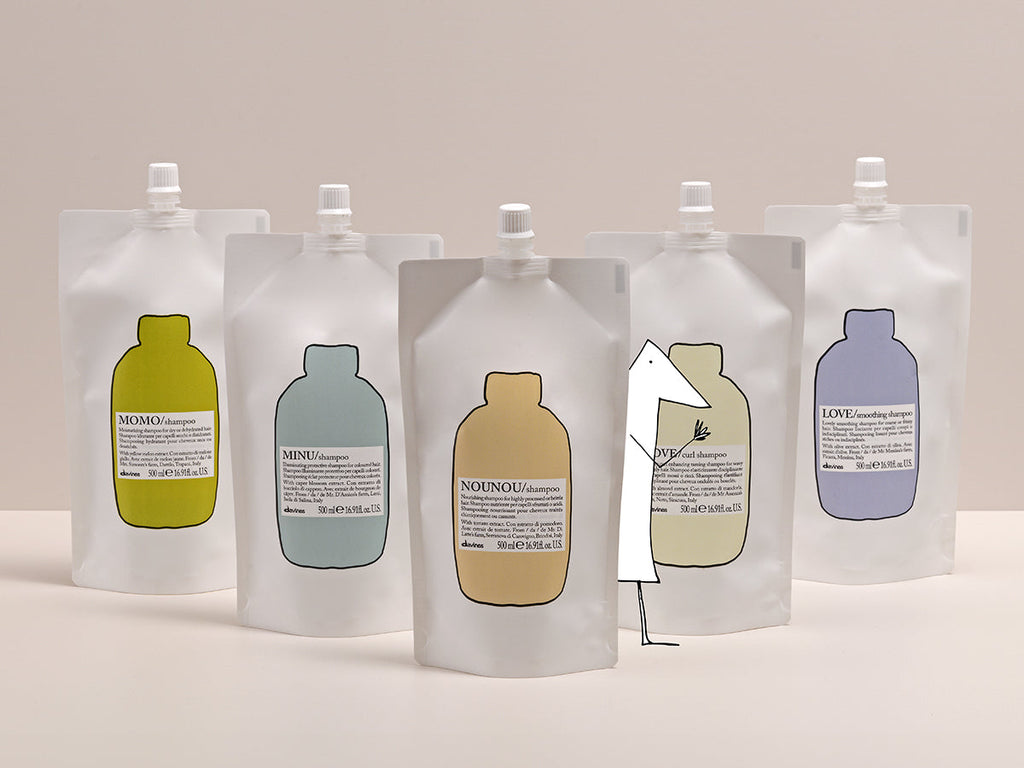
 Shop Now Summer FavoritesWelcome the sunniest season with stylist-approved haircare


10 Techniques for Getting Tight Curls
Beachy waves are a great hairstyle for summer, but this season it’s all about gorgeous tight curls and bouncy ringlets. But regularly using tools like curling wands and flat irons puts stress on already fragile weather-beaten hair. Forget the styling tools, and leave the heat damage behind, because we're here to show you how to take a more organic approach to styling. Our favorite winter hairstyles are ones that are kind to our strands, so we’re breaking down the best heatless hair hacks for getting tight curls.
How to Get Tight Curls (No Heat Necessary)
"Using a product like More Inside Curl Moisturizing Mousse along with a twisting method of styling will give nice, controlled tight curls. If you are looking for a tight texture, a simple tightly braided ponytail could give you the texture desired." —Sunny Brewer, Davines Technical Education Manager
1. Hair Rollers
Hair rollers give you a result similar to using a curling iron, without damage to your strands. And there’s a hair roller for every hair type and texture. Regardless of which kind of roller you use, the basics are the same (but if you’re using hot rollers, you prep your strands with a heat protectant). After washing with a curl shampoo and conditioner, section your damp hair into four quadrants: the front, the left, the right, and the back. Work with one section of hair at a time, and work in subsections that are roughly the same size. Keep in mind that the direction you wind them in forms the direction of the curl, so be mindful of that when rolling your hair. Keep your rollers in for 30-45 minutes (or leave them in overnight if you’re using foam or pillow rollers) then unroll and rake through your curls.
2. Overnight Sock Curls
This is an easy hack for creating tight curls and all you need are some socks and a little product. Start with clean, damp hair that’s been prepped with a curling mousse and separate it into two or four equal sections. Secure one sock to one of the sections at the top of your head with a bobby pin. Separate the section into two equal halves on either side of the sock. Grab one piece of hair from one side and proceed to fold the piece of hair over the sock, followed by folding a piece from the other side over the sock. Continue to add more pieces of hair from each side as you wrap it around the sock each time, and secure the ends with an elastic. Repeat this process with your other sections and socks until your whole head is done. For best results, sleep on it — in the morning, remove the socks and shake out your curls.
3. Curlformer Spirals
Curlformers are perfect for creating ringlets on natural hair. Start with a curl cleansing cream followed by a curl enhancing product of your choice. Then, working on one section of hair at a time, place the hook of the curlformer around the hair, pushing the curlformer close to the scalp. Gently pull the hook holding the hair through the curler and repeat this through your entire head. Make sure your hair is fully dry before removing the curlformers by holding them close to the scalp, straightening it, and slipping it off. Fully separate each curl and then use hair butter to twirl each new section of hair in the direction of the curl.
4. Bathrobe Curls
Thanks to TikTok, this no-heat technique for creating tight curls has gone viral, and for good reason. It couldn’t be easier to pull off and it works on the straightest of strands! Run a curling mousse through your damp strands before placing a belt from a robe on the top of your head, letting it fall to each side. Then divide your hair into two sections and wrap it around the robe belt. Once you finish wrapping your hair, sleep on your curls-to-be and unravel in the morning. Spritz dry shampoo on your roots and brush through for extra volume.
5. Bendy Rods
Bendy rods work well on fine or thick hair and medium to long lengths for creating tight corkscrew curls. Choose the size of your rollers based on the length and thickness of your hair - smaller rollers will produce tighter curls. Wash and condition your hair as usual and distribute a curl serum throughout your damp strands. Beginning at the back of your head and working forward, wrap the end of a small section of hair around the middle of the roller 3 or 4 times. Then, gripping the roller on either side, slowly roll it up to the root and bend the roller so the two ends overlap. Repeat this process until all your hair is rolled up tight and spray your hair all over with an anti-frizz hairspray. Once your hair is completely dry, unbend the rollers back into a straight rod and unroll gently.
6. Small Curling Rods
These are your best option for creating tight curls on short hair. Choose a rod with a ¼ diameter for a coil that most closely resembles a natural curl. Start with freshly washed strands and apply a curl cream to damp hair. Section out your hair the way you would for hair rollers (see the step above). Wrap each section around the rod and secure it by twisting the ends. Repeat this process until your hair is full of curling rods. Keep the rods in for 30-45 minutes, then unroll and rake through your curls.
7. Braiding Wet Hair
If we haven’t yet convinced you that tight curls are where it’s at and beachy waves are still your thing, enter the braid. One of the easiest heatless ways for creating casual, messy bends in your strands is by braiding them before bed — you’ll wake up to the beach waves of your dreams! Spray your damp hair with a brushable hairspray and braid it by splitting your hair into 3 parts. Alternate moving the left piece and then the right piece over the middle piece. If you are doing a French braid, add a little hair into the left or right pieces before you cross it over (or under, if you’re doing a Dutch braid) your middle piece. Secure the end with an elastic. In the morning take out your braid and use your fingers to separate your waves.
8. Rope Twist and Bun
This technique combines two side twists and a bun for an easy overnight curly hair look in the morning. Start with slightly damp hair and part your hair down the middle. Twist the hair at one side to the back. Each time, grab a lower section and release the strand you have taken before to add more hair from the bottom to it and bring it over the twist again. When you reach the nape of your neck, split the hair into two sections and twist them around each other. Then, proceed to twist it into a bun and secure it with an elastic. Do the same twist on the other side and go to sleep. Untwist, detangle and scrunch with a curl refresher in the morning.
9. Finger Coils with Straws
Another technique for creating super tight curls is with everyday drinking straws. First, run a curl primer through freshly washed damp hair. Start with an inch section of hair and wrap it around the straw in a diagonal upward motion until you reach your roots. Slide a bobby pin into the top of the straw and clamp it onto your roots. Repeat this process over your entire head. Once your hair is dry, take the straws out one by one, twisting them back and forth to separate them from your hair and then unwind them in the direction of the curl. Rub a hair oil through your strands for shine.
10. Bantu Knots
If you have naturally tight coils, add Bantu knots to your curly hair care routine. Start with cleansed and deeply-conditioned hair, followed by a curl relaxing cream. Section your hair into four square sections and secure them with clips. Working section by section, two-strand twist each section and wind it into a knot. Once the knot is fully wrapped around, tuck it with your fingernail or the tip of a rat tail comb. Continue doing this in each of the sections you've created around your head. Wrap your knots with a scarf and go to sleep. In the morning, unwrap your knots and spritz with a curl refresher.
Final Thoughts on Achieving Tight Curls
Save the beach waves for the warmer weather: tight curls and bouncy ringlets are where it’s at this season. Especially in the wintertime, the health of your hair should be your focus. Our favorite cold weather hairstyles are gentle on our fragile strands so keep these tutorials on hand for when you want to rock a curly hair look. And stock up on all your favorite Davines curly hair products to keep your hair hydrated. Our formulas use natural ingredients, and are made with renewable energy and packaging that minimizes the environmental impact. Our hair care isn’t just good for your hair, it’s good for the planet.
by Jaclyn LaBadia, featured contributor
photos by @goldandglowco
by Jaclyn LaBadia, featured contributor
Cover photo by Nesrin Danan @blackprints
Water is one of our planet’s most precious resources, but it is increasingly vulnerable. At Davines, we believe that together...
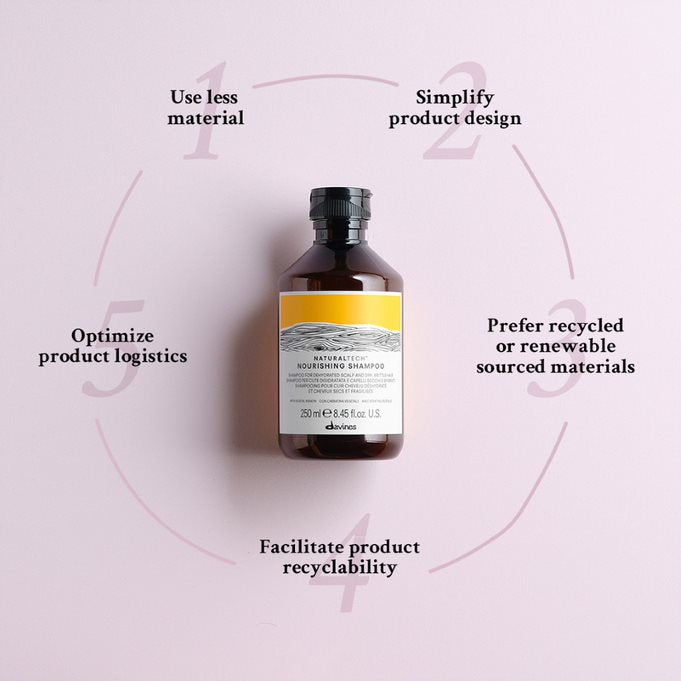
At Davines, sustainability is at the heart of everything we do - and that means product packaging has always been...
You’re trying so hard to brush gently but no matter what you do, you still hear it - the unmistakable...
Leave a comment
Comments will be approved before showing up.